Description
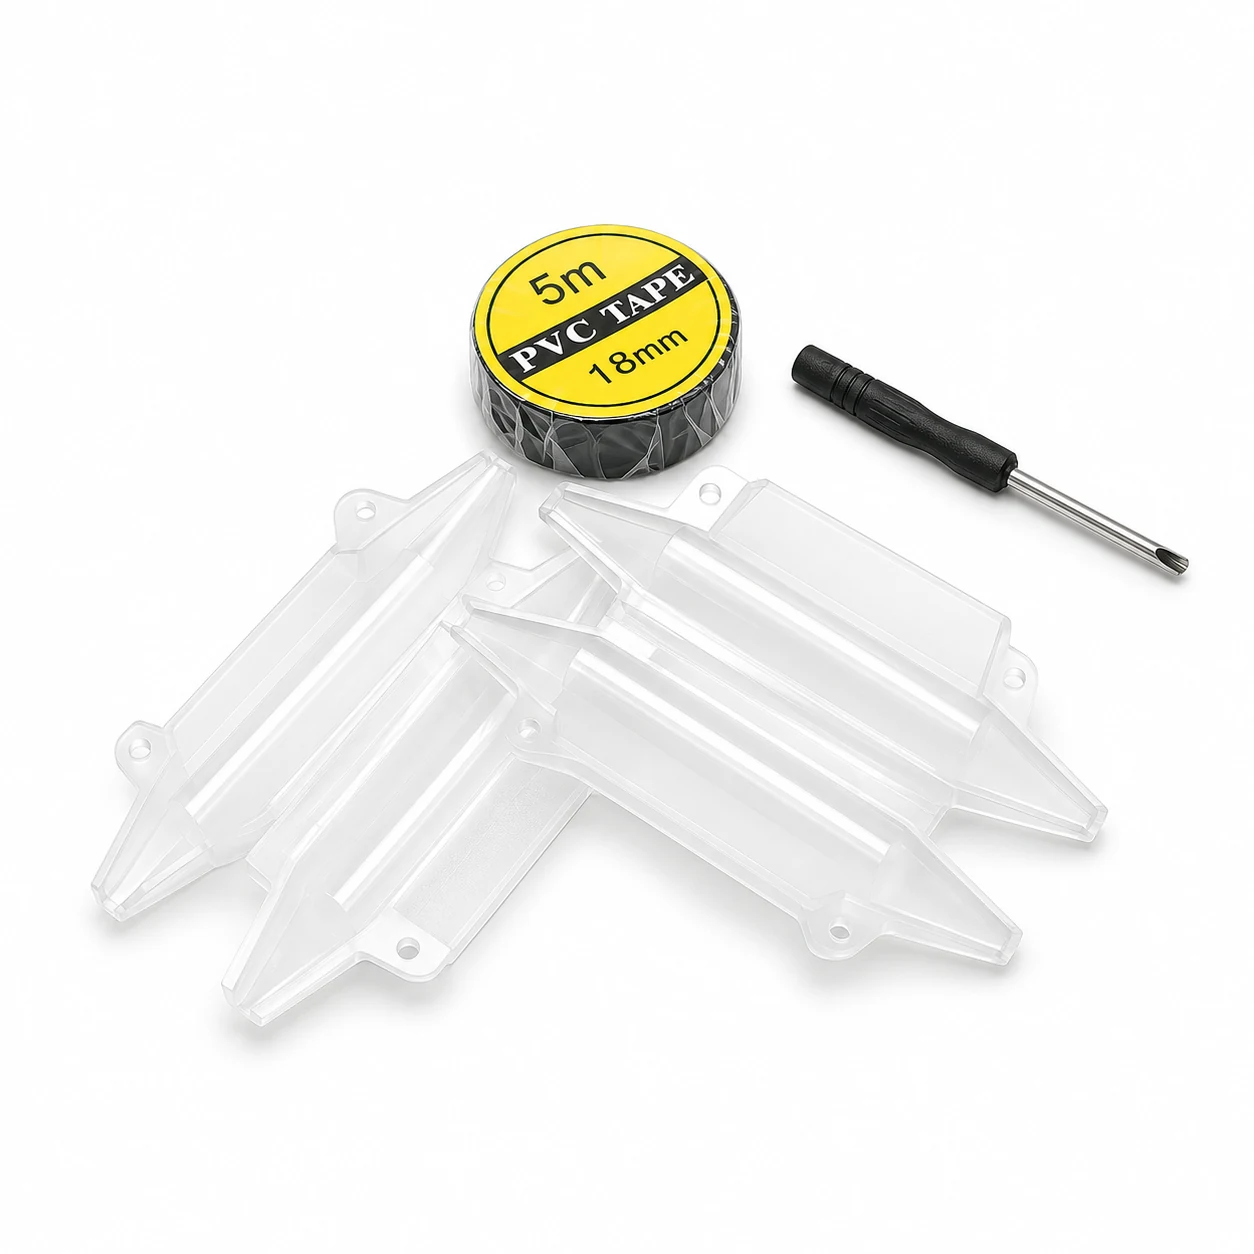
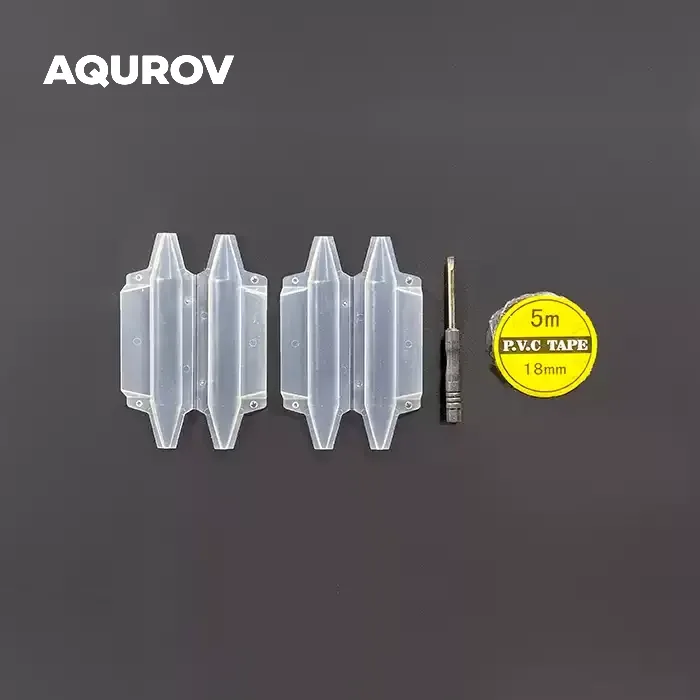
A clear form for compact cable joints.
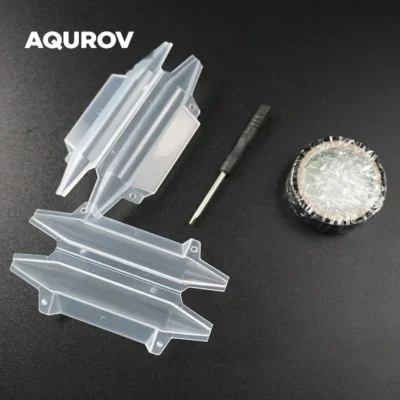
Bring the two sides of a cable joint together inside a transparent, straight-through shell. This small junction-box mold is identified for 2–10 mm cables and provides a defined form for a suitable sealing or vulcanization process.
Make an insulated inline cable splice.
Use this transparent mold to make vulcanized or resin-potted inline cable joints. With a compatible imported vulcanizing compound and a properly completed process, the encapsulated connection is designed to isolate the cable joint from water and air. For underwater applications, qualify the complete splice for the intended conditions.
Applications include power and communications cables, municipal and water projects, landscape lighting, street lighting and tunnels.
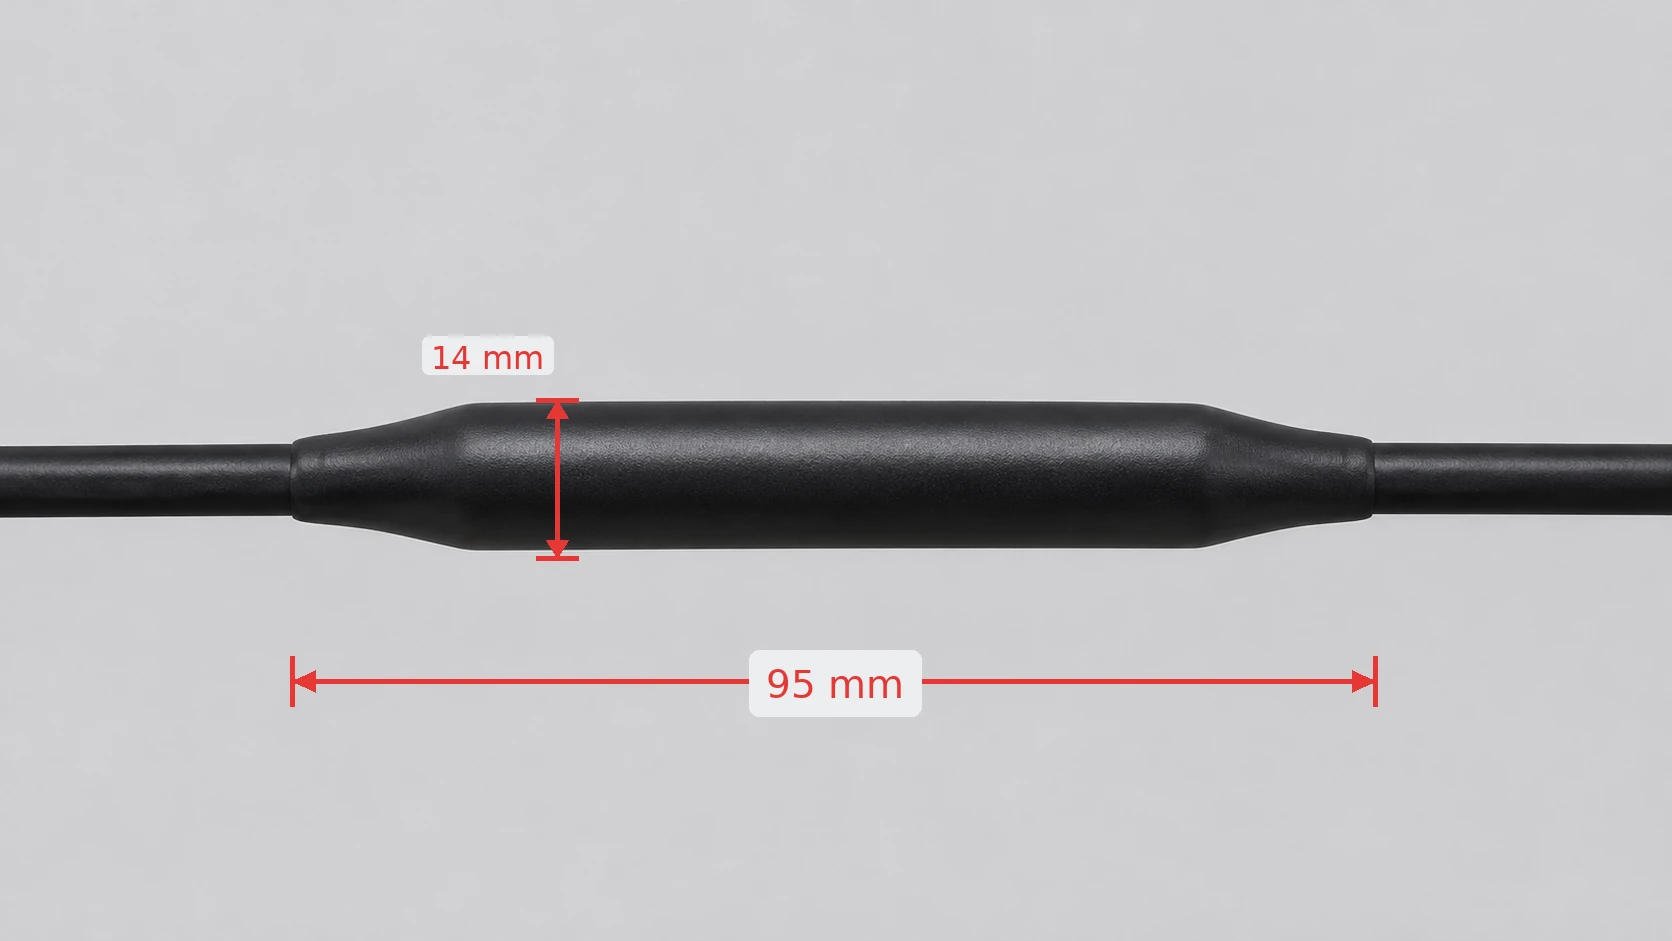
The illustrated finished splice measures 14 mm outside diameter and 95 mm long after vulcanization.
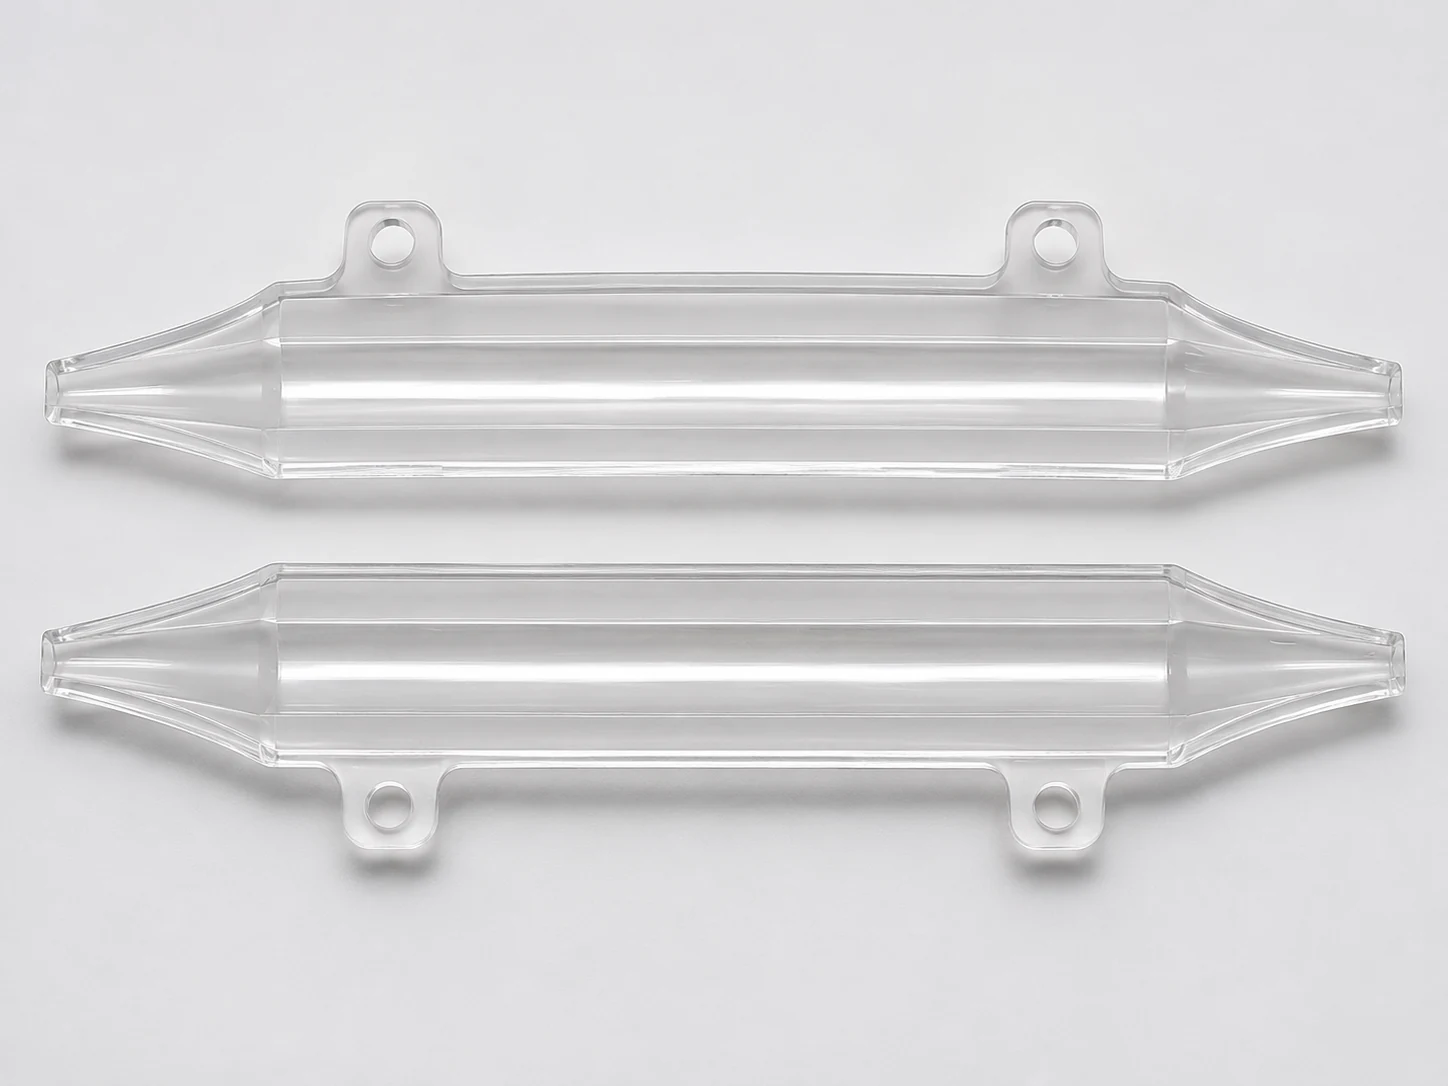
A simple form for a straight splice.
Two-part shell
Separate transparent halves surround the joint area for positioning and inspection.
Inline cable path
The cable enters and exits along one axis through the tapered ends.
Small cable range
This small-size mold is intended for 2–10 mm cable.
A smooth, inline finished splice.
The example shows the cable joint after vulcanization. The dimensions refer to the illustrated finished splice, not the empty mold.
Check the cable and build method.
| Product type | Small-size straight-through junction-box mold |
|---|---|
| Stated cable range | 2–10 mm |
| Form | Transparent split shell |
| Sealing methods described | Vulcanizing rubber or resin potting |
| Illustrated finished splice | 95 mm length × 14 mm outside diameter |
Choose the kit quantity.
2-set kit
- Mold sets 2
- Insulation tape rolls 1
- Small screwdrivers 1
6-set kit
- Mold sets 6
- Insulation tape rolls 3
- Small screwdrivers 3
Plan the splice as a complete assembly.
Choose the cable, joint preparation and sealing material together. The shell defines the splice form; the final seal depends on the full assembly and the process used.
Match the cable
Check the actual cable size against the stated 2–10 mm range.
Lay out the joint
Place the splice within the straight central channel and align the two halves.
Validate the seal
Follow the chosen material process and test the completed cable assembly for its intended use.
Common questions
What cable size is this version for?
The product is identified as the small 2–10 mm version. Check the actual cable and joint geometry before assembly.
Does the empty mold have a depth rating?
No numerical depth or pressure rating is specified for the mold. Underwater suitability depends on the complete sealed splice, compatible materials and validation.